
An inspiring and creative day on Saturday with the WearTo? group of the Embroiderers’ Guild of Western Australia. We did a workshop on using water soluble stabiliser to create lace, or fabric, or really anything you want to create! There are several different types of water soluble stabiliser, but, as the name suggests, they all wash away in water. By stitching on one or more layers of stabiliser, and adding threads, scraps of fabric, silk or wool tops, it’s possible to create anything from the whispiest airiest lace, to a solid fabric to a piece of sculpture. The latter requires some kind of fabric stiffener, but if you retain the stabiliser in the fabric, just melt it and let it dry again in a different shape, it works quite well as a stiffener, and even the opaque type is clear once it has been melted.
I didn’t take any photos of the samples during the day, which was silly, but by trawling the net for images came up with the following.
One talented user of the technique is Linda Matthews, and there is another tutorial on Urban Threads, although that is using machine embroidered patterns, we did free machine embroidery in this workshop. There are also numerous examples on Pinterest.
I did take a photo of my sample, which didn’t come out quite as I expected, but that’s the whole point of a sample.
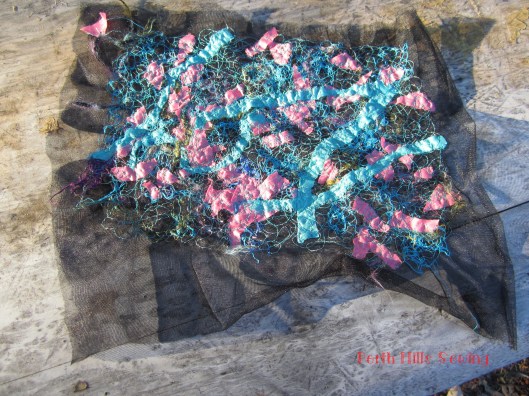
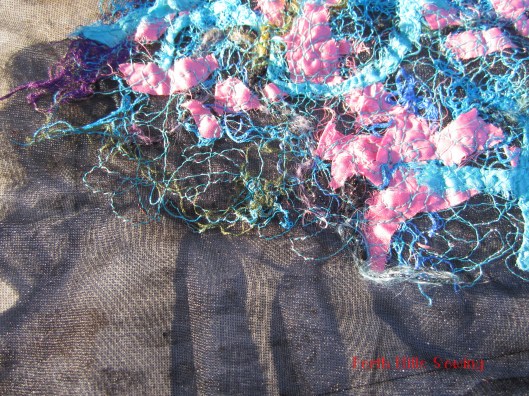
I had gaily laid down some threads, and scraps of fabric, and stitched over them all to hold them together. I used a layer of black sheer fabric underneath, which meant I didn’t have to be quite so careful about making sure all the lines of stitching joined up. If you don’t use any fabric underneath, all the stitching has to join together, or the lace will fall apart, or at least have bigger holes in it than you intended! I assumed that by piling on all the threads and scraps they would somehow meld together, but of course they didn’t, the pieces I put on top were still on top after I had done the stitching, and the bobbin thread was completely hidden by the sheer black fabric. If I were going to do a similar piece again I would layer the threads and fabric more carefully, probably weaving them over and under each other so that they were exposed in some areas but not in others, and would also only use black thread in the bobbin.

I then worked on another piece, which isn’t anywhere near finished, using just white fabric and thread, and strips of fabric criss-crossing over each other to make a grid. As you can see, the stabiliser I used is quite opaque, which makes it harder to envisage the finished effect, but it’s also more sturdy than some others I have used, so easier to work on. I didn’t use a hoop, whereas I think with the more plastic type of stabilisers you really need one. The stabiliser I used is Soluvlies by Vleiseline, sometimes referred to (I think translated) as Solufleece, which is a bit misleading as it’s not a fleece at all.
I’m not really sure how this piece will turn out, but it will be interesting. I haven’t yet decided what would be the best way of stitching the strips together, so I’m trying different options. Again, I guess that’s the whole point of a sample!

I can see lots of possibilities for this technique in garment sewing.
