Seeking the Essence of Erewhon

Tags

, , ,

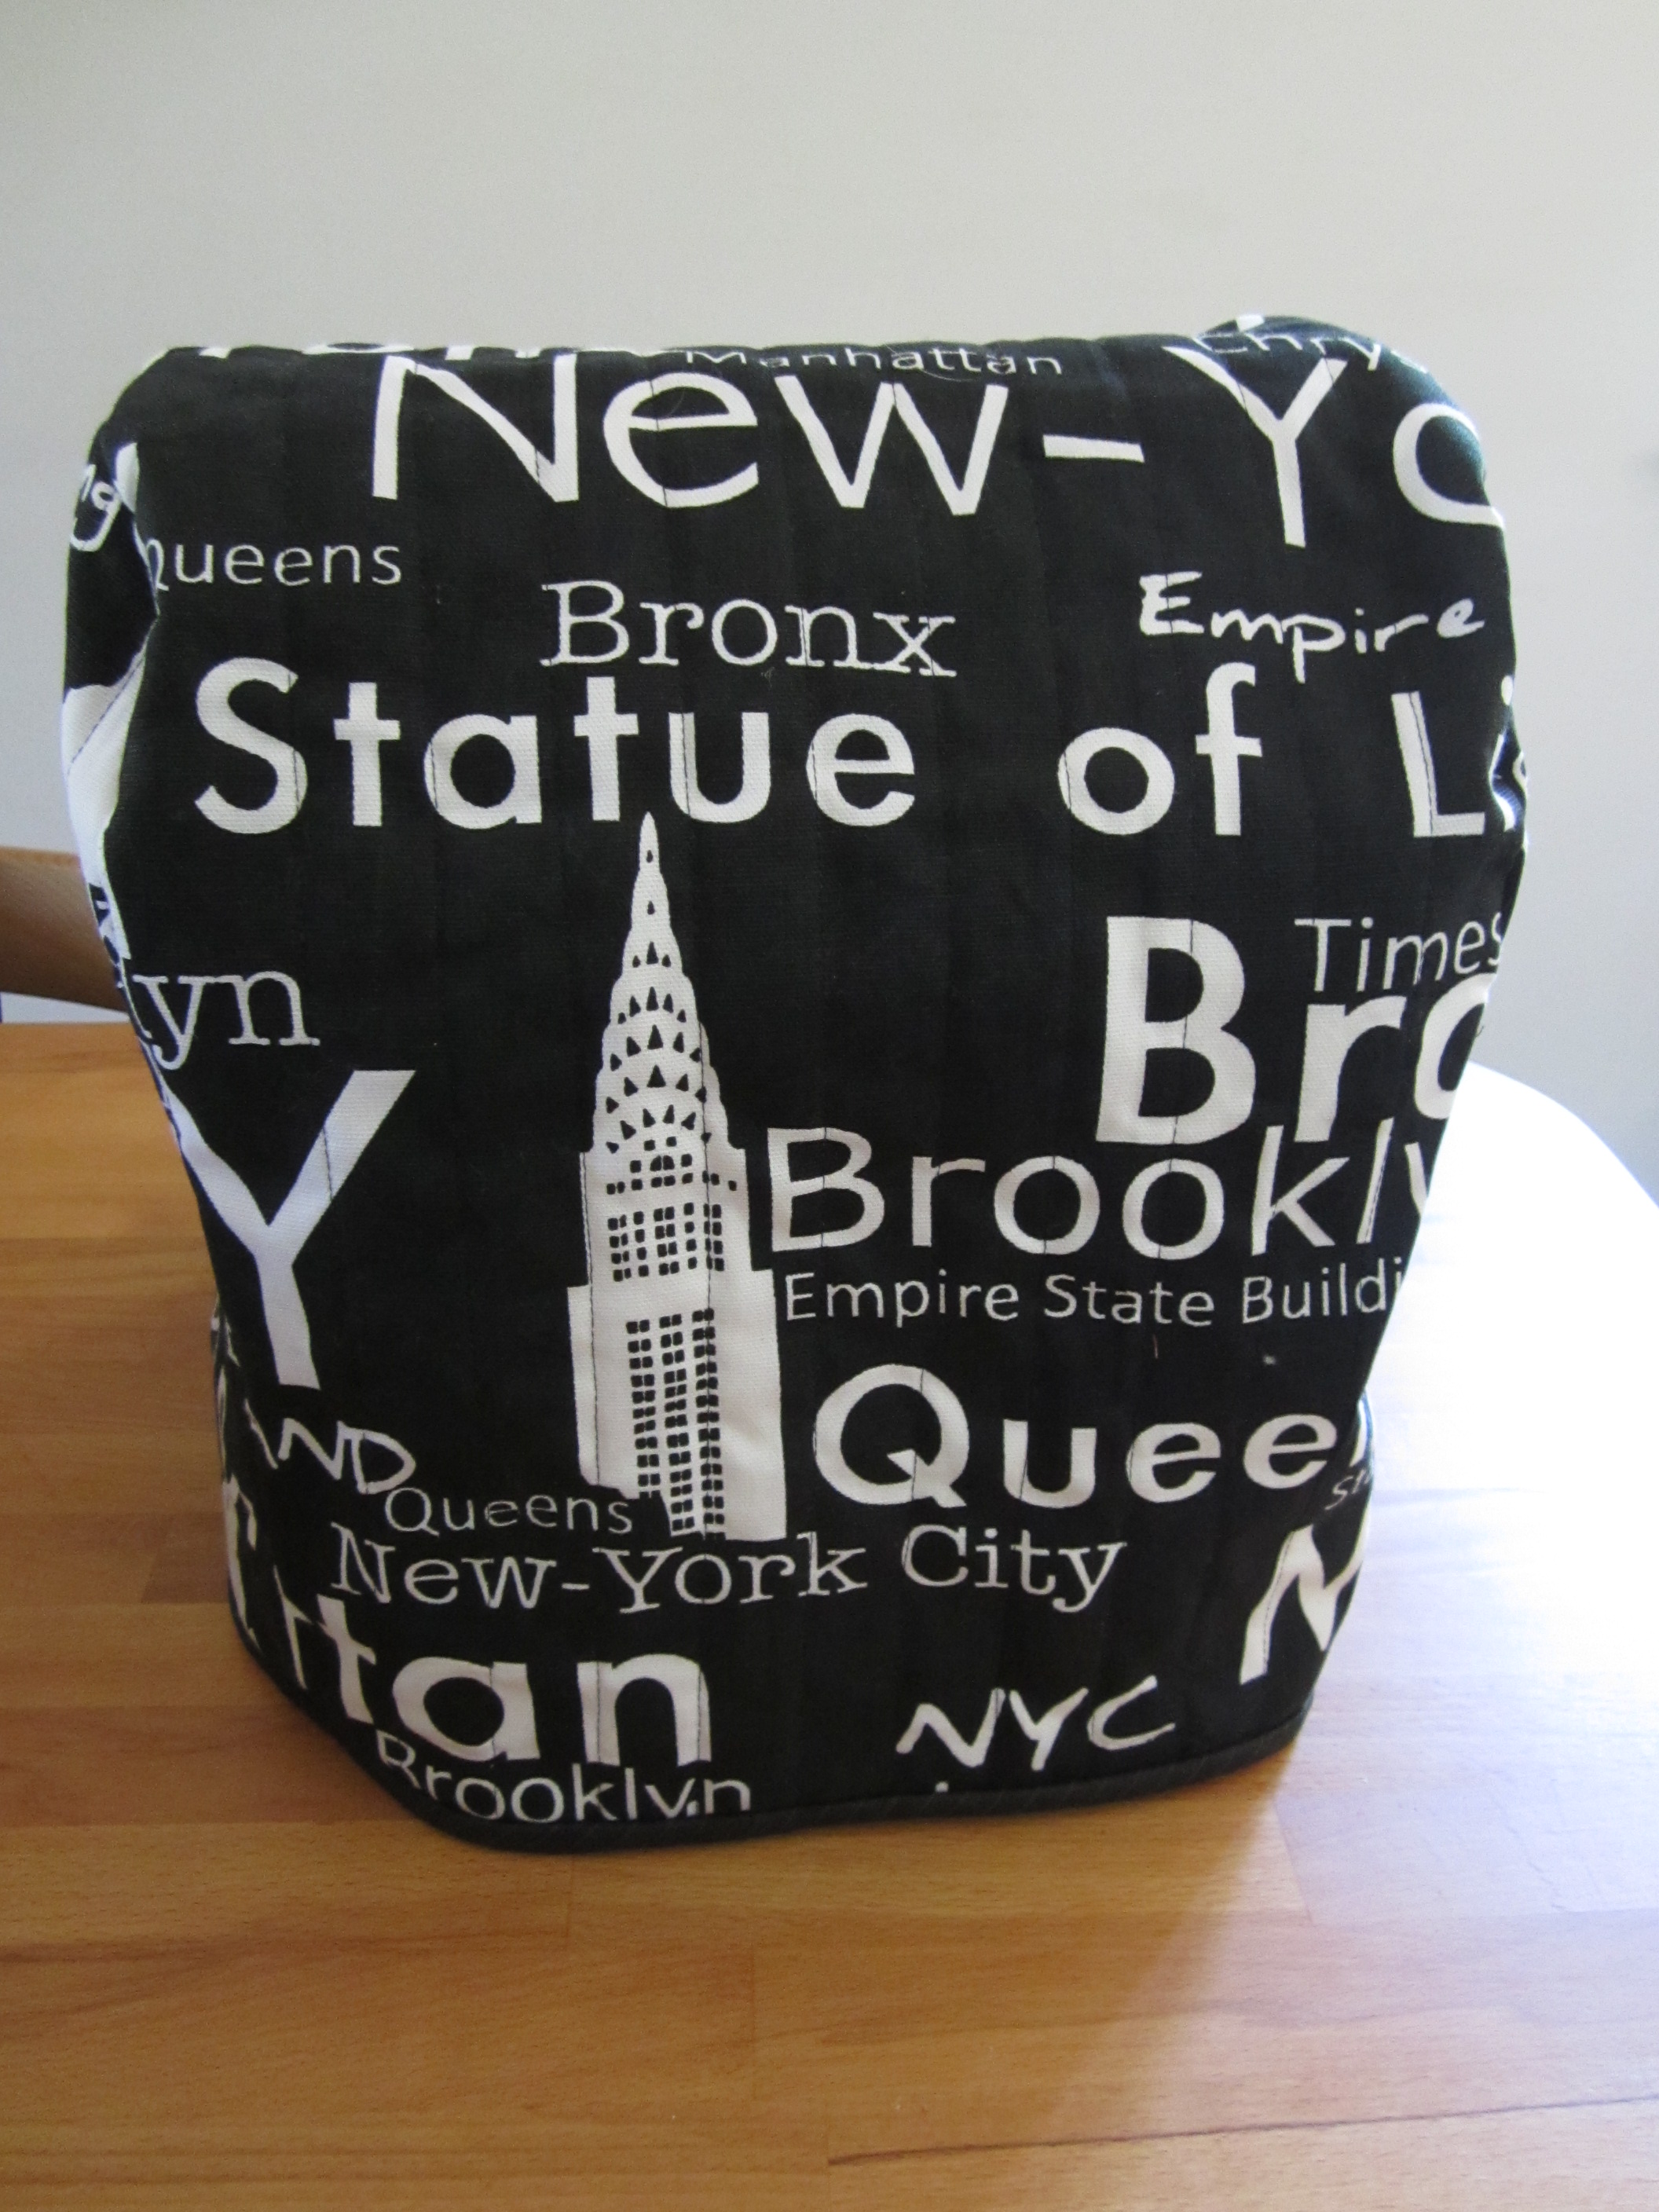
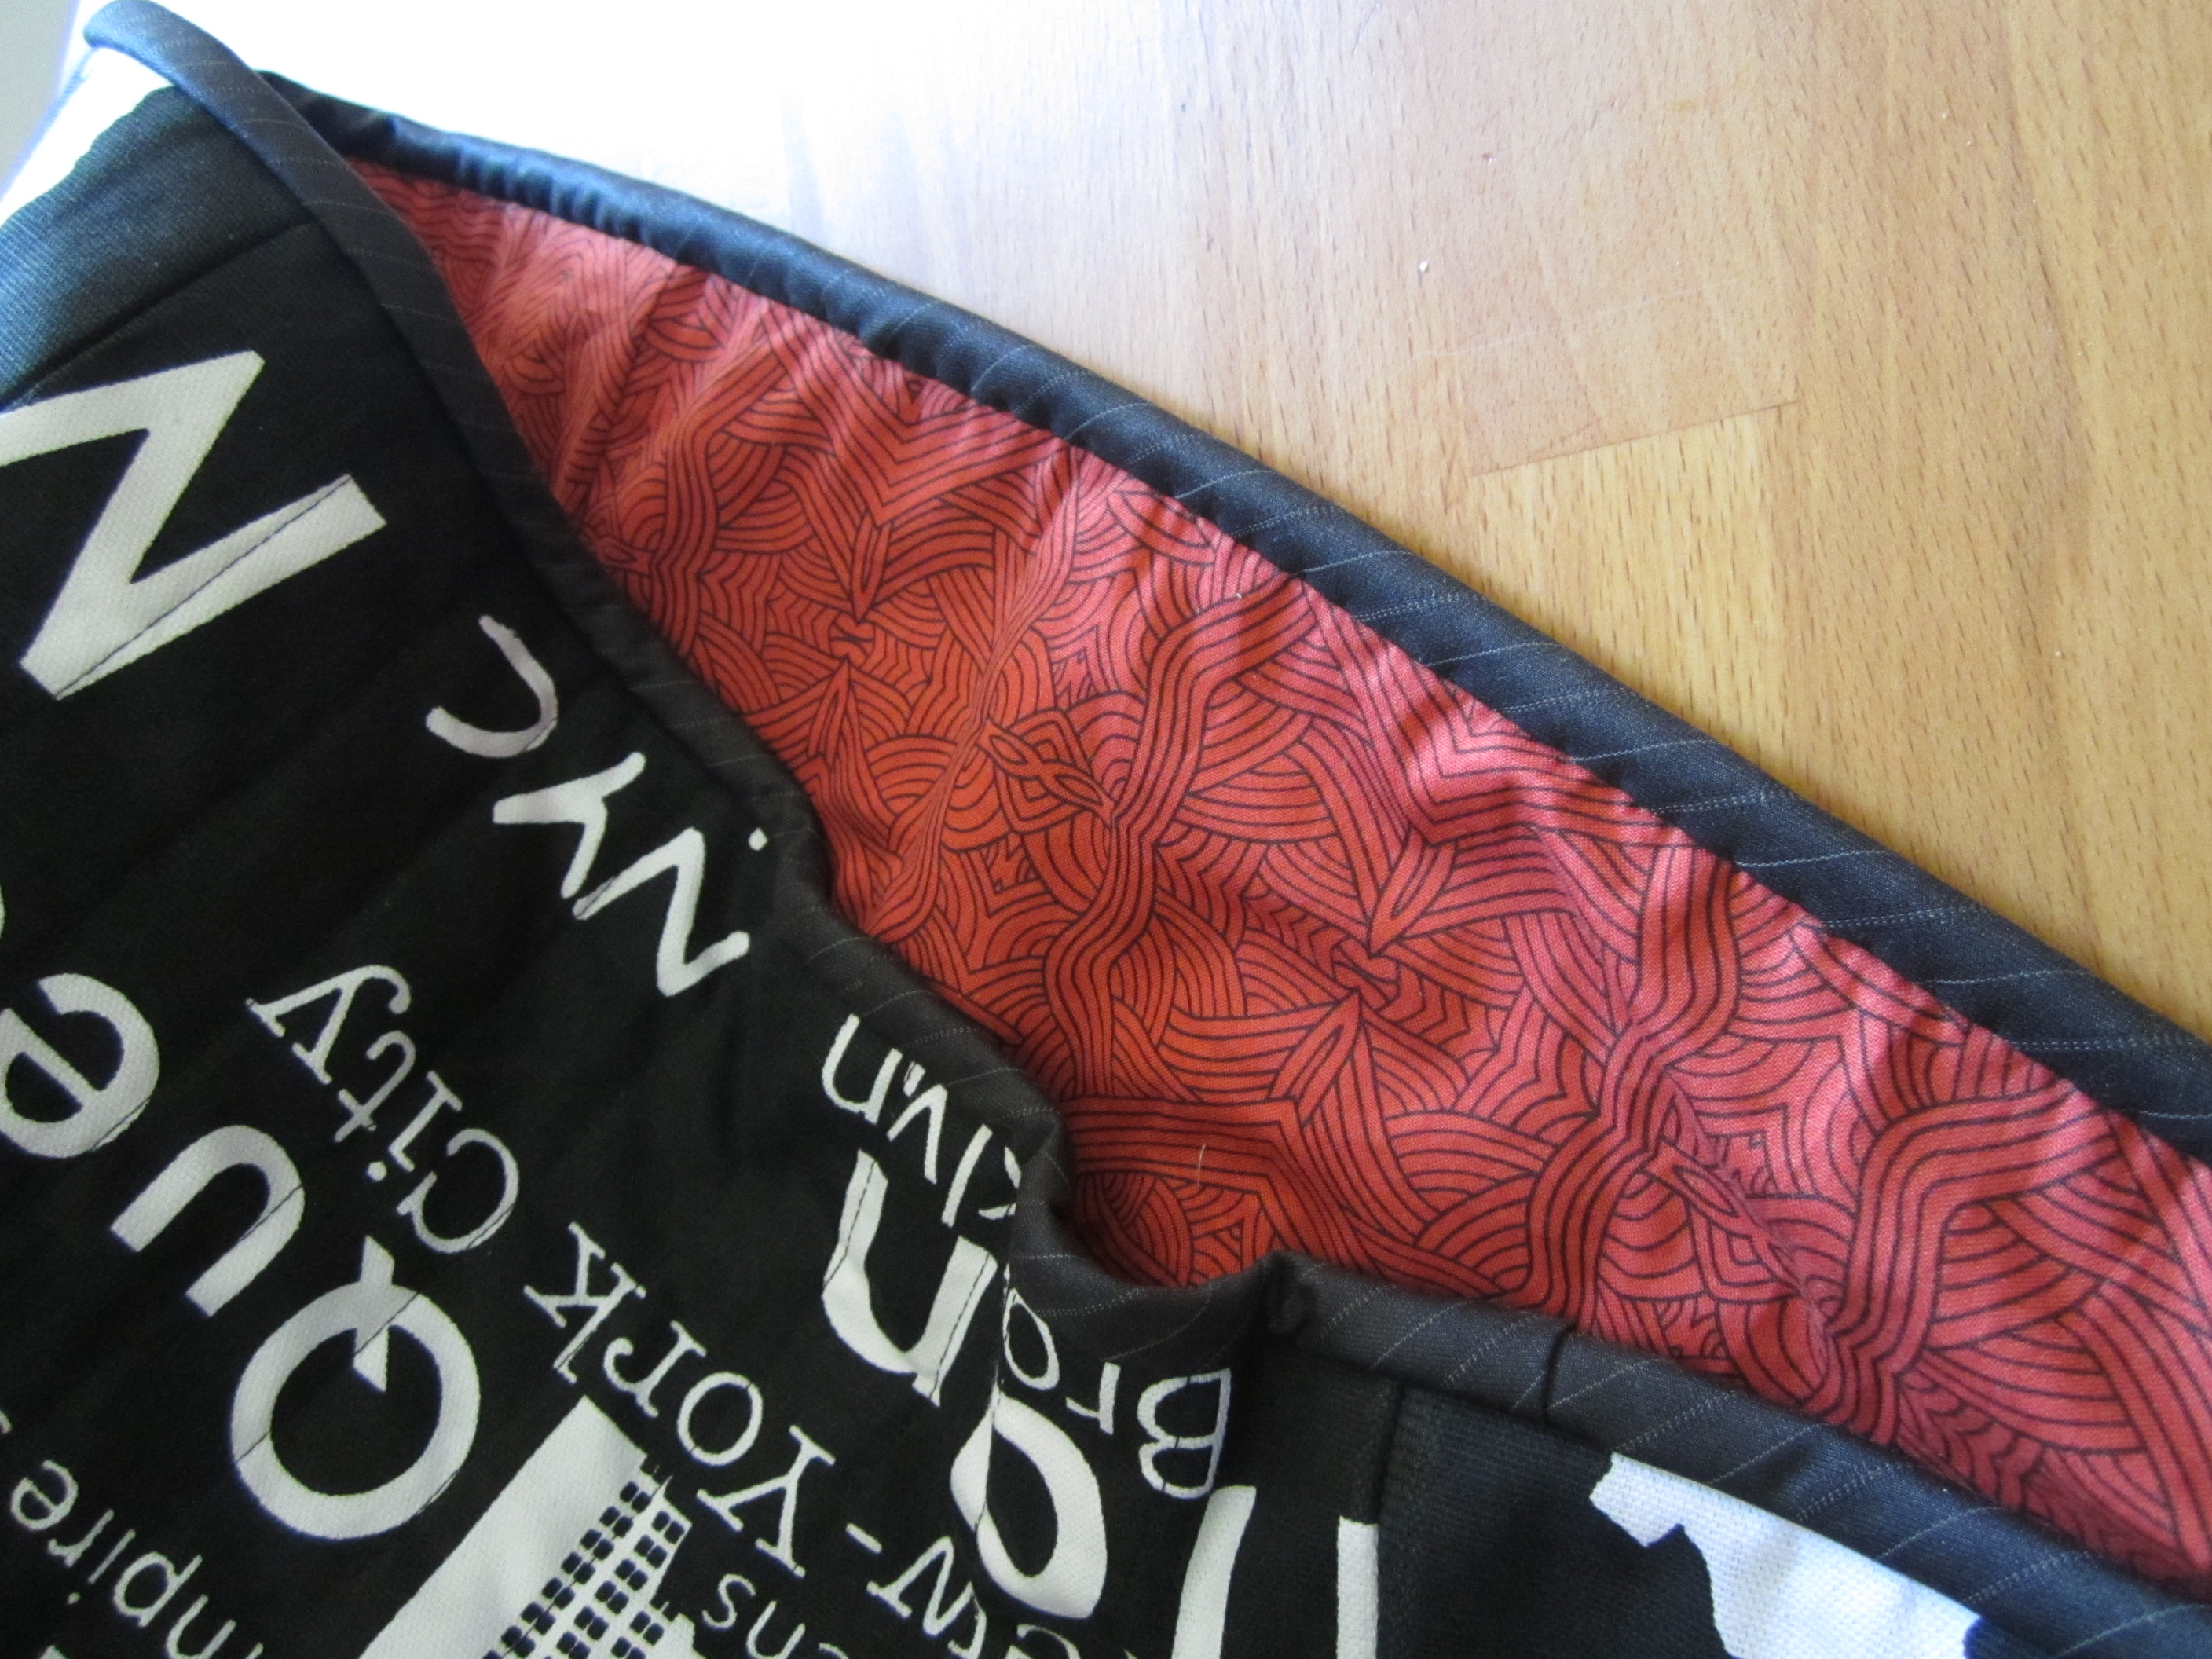
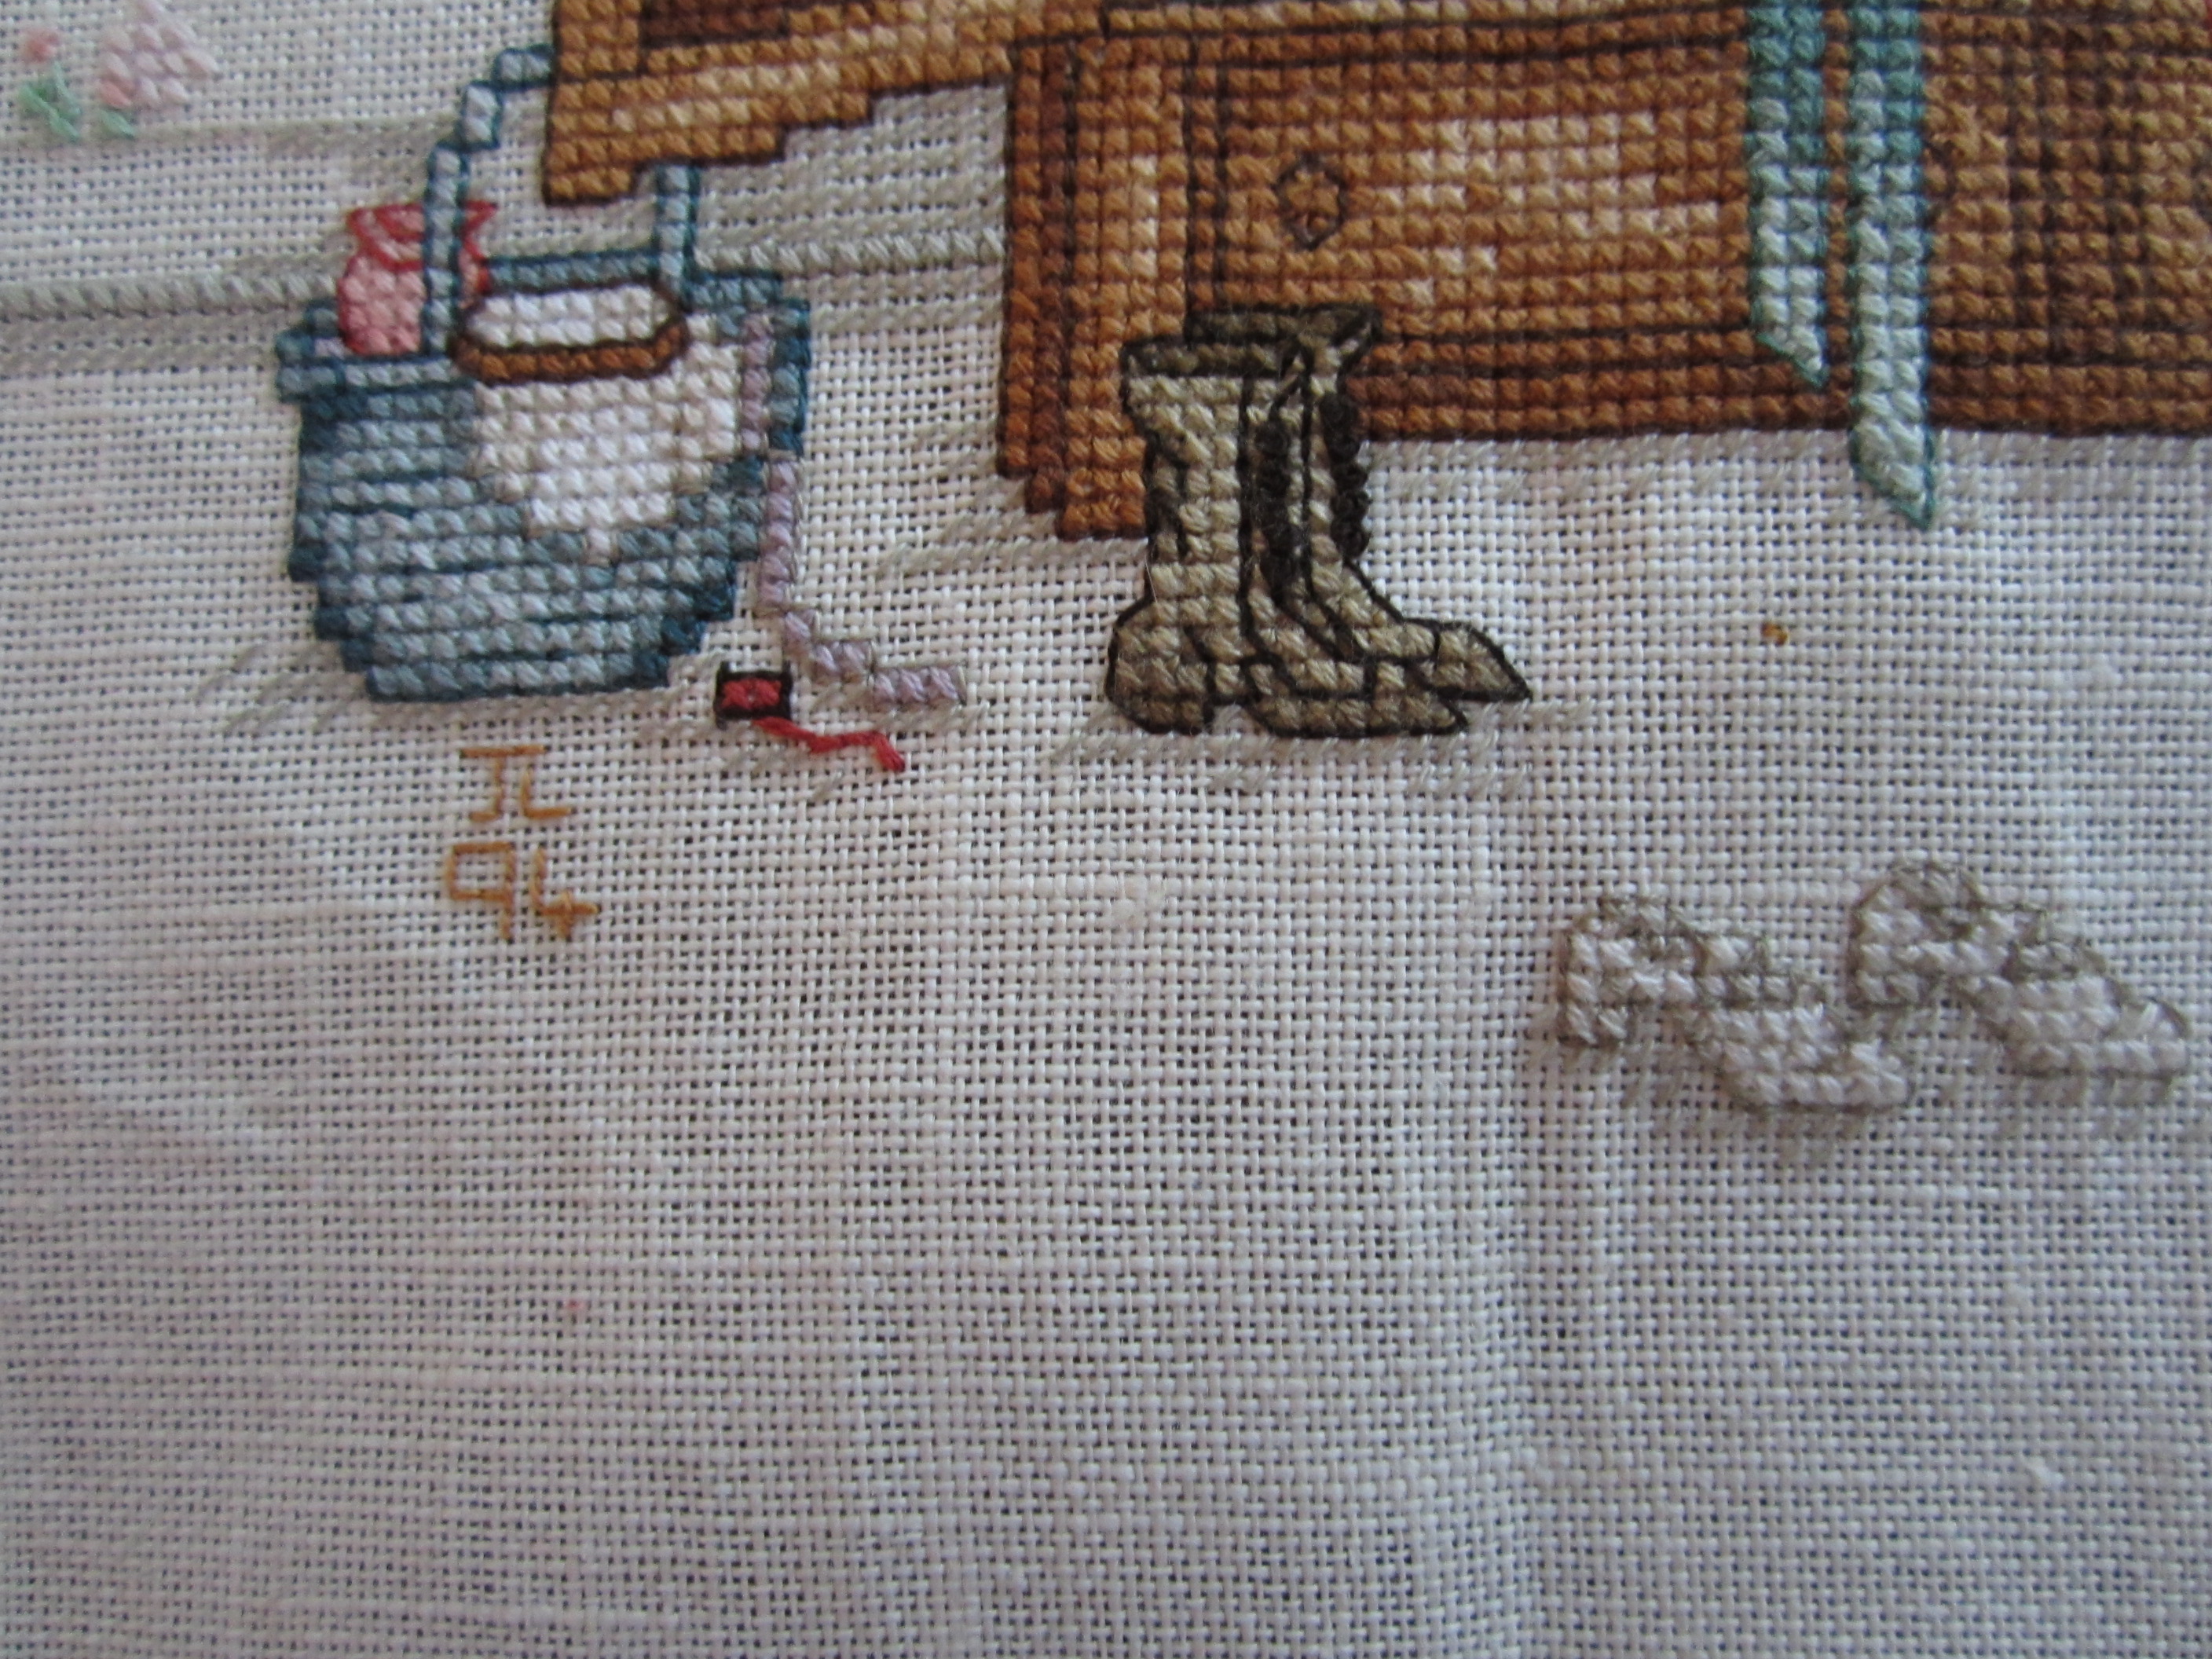
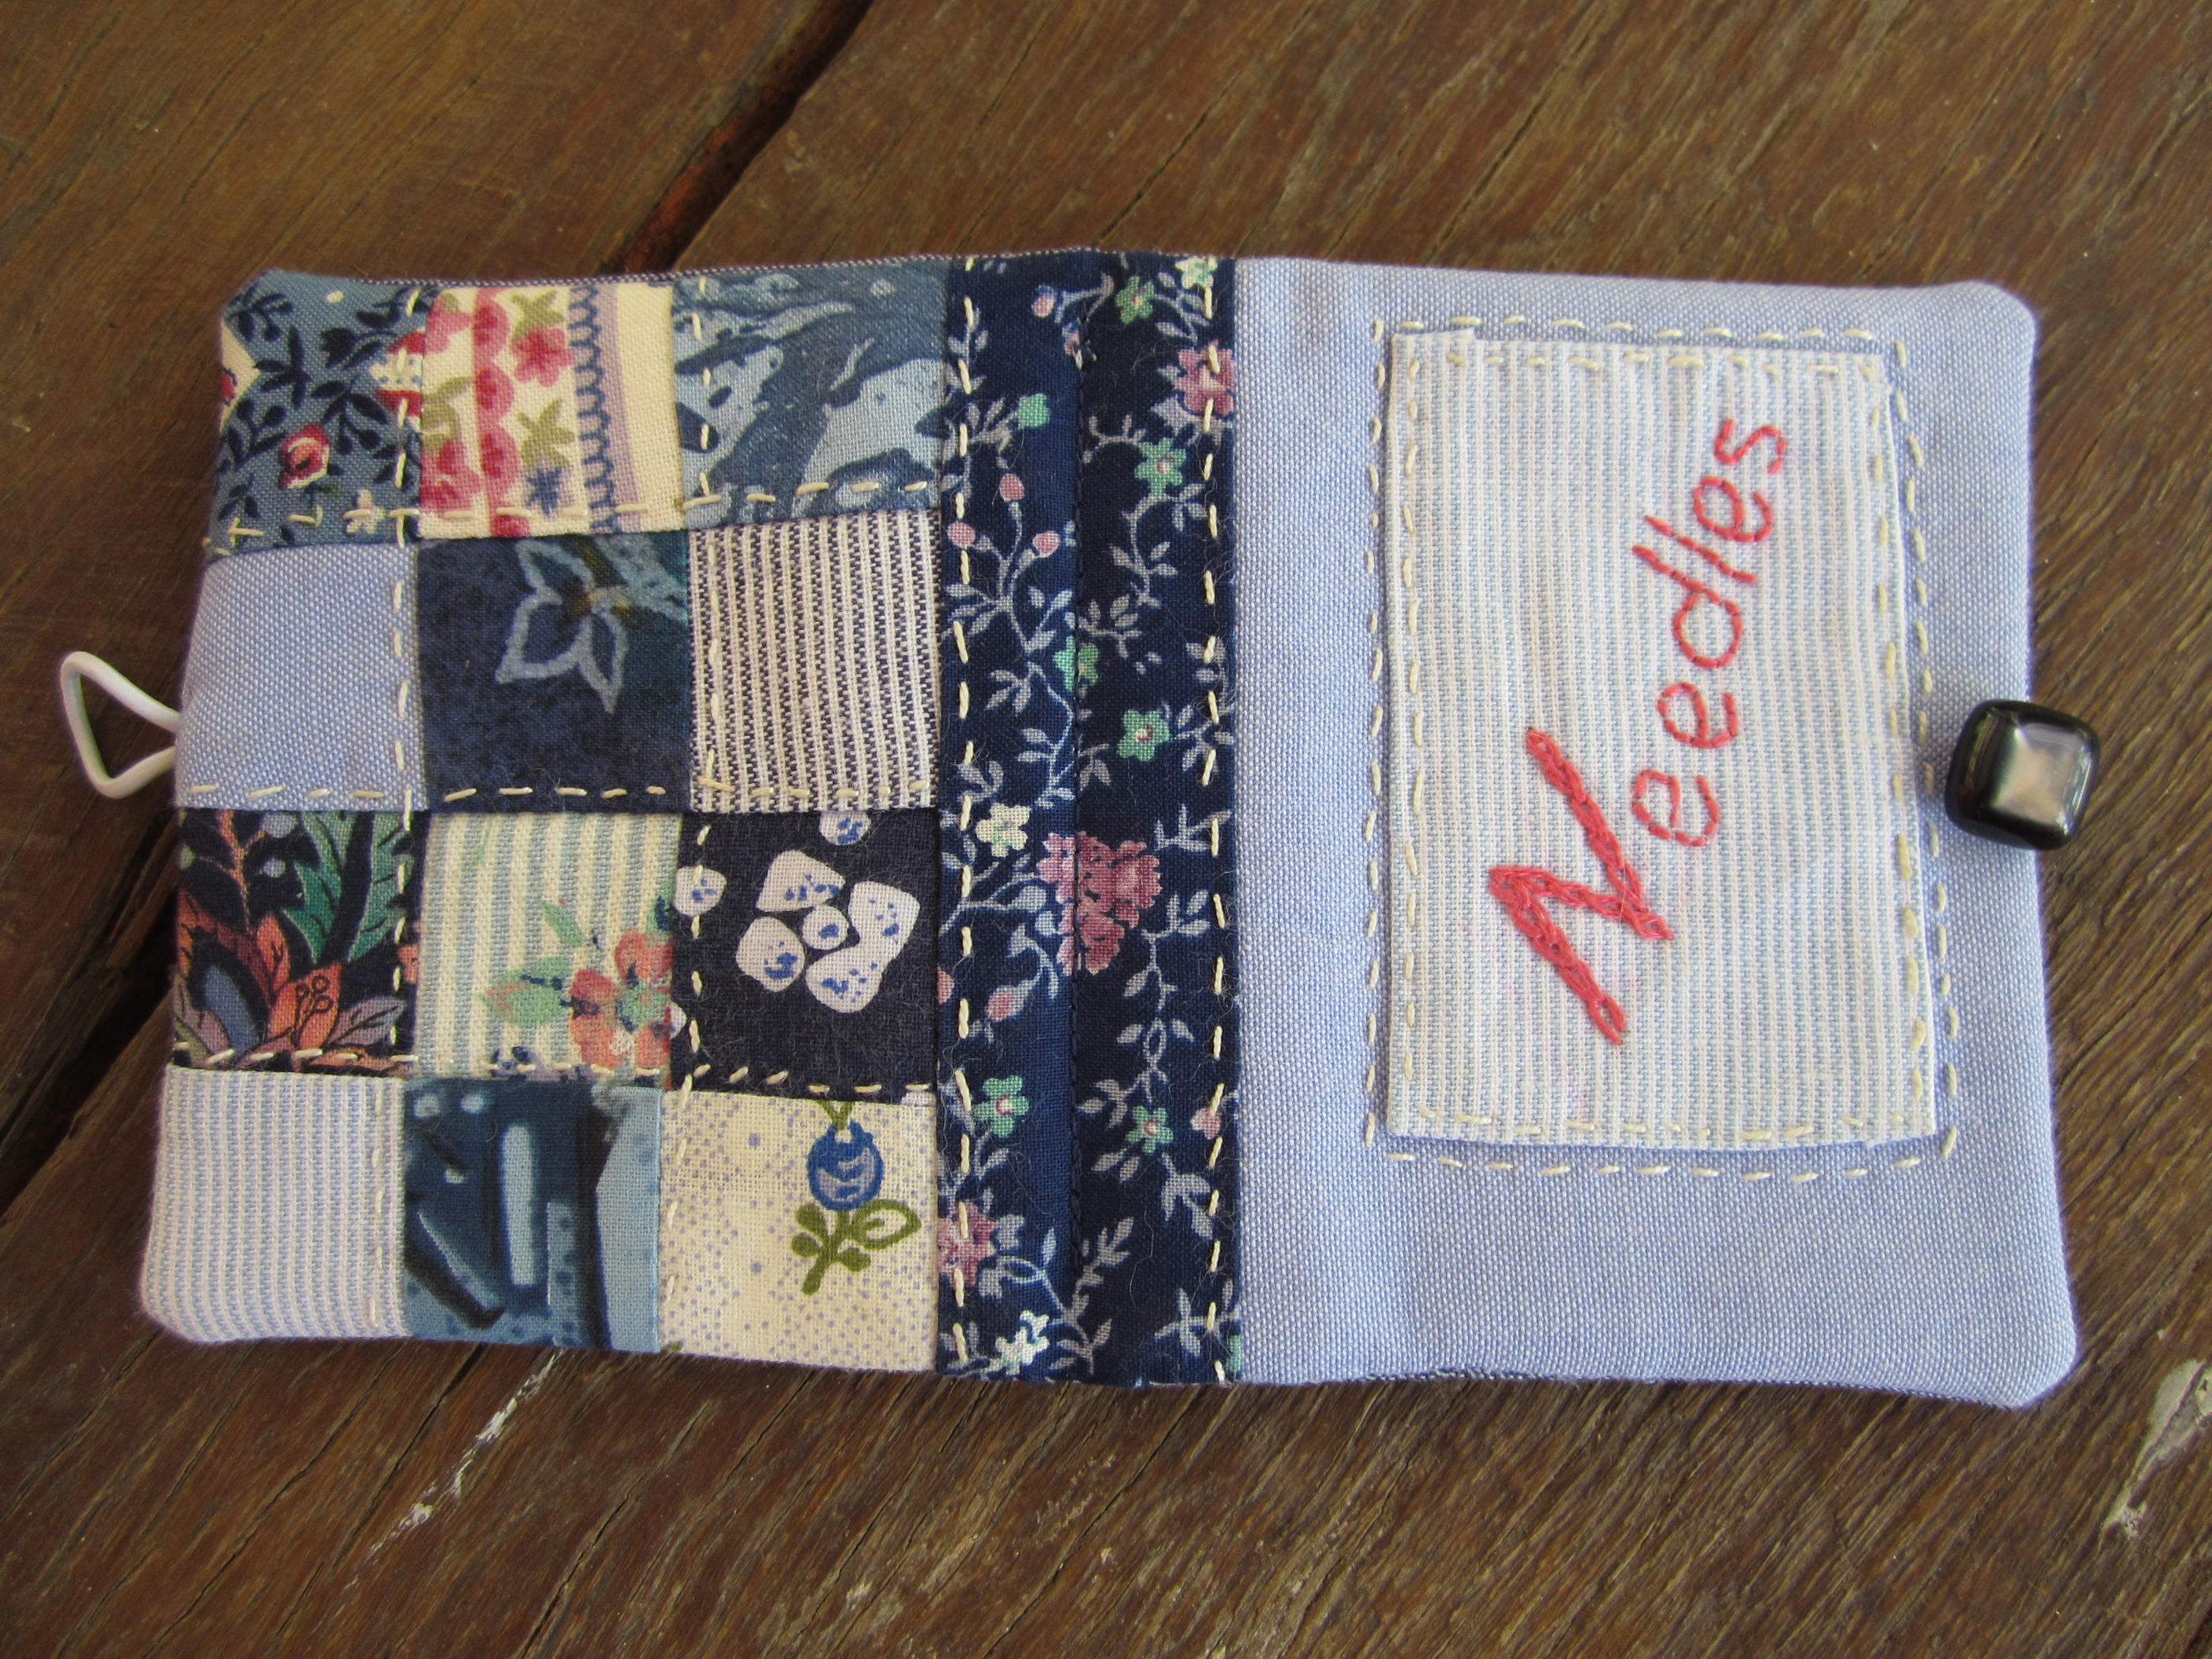
I’m in danger of having a long break between posts again! Mostly due to lack of inspiration, and time. I have been busy on a couple of projects, but can’t write about them yet. One I have sent away for (fingers tightly crossed) inclusion in a magazine, although I haven’t heard anything so I’m not over optimistic about that. Two more things I am going to enter in competition, so no details about them either. Hopefully in a few weeks I’ll be able to blog about them, even if there is no success!

I’ve also been devoid of inspiration for next month’s writing group. The topic is about place – more precisely I think the question is ‘can we exist outside of place?’. For a start, I don’t even really know what that means. I tend to take things very literally, so my first instinctive answer is no. By existing, we take up space, so we have to have a place to exist in. I suspect that is not what the question means however.

My second, slightly more thought out reply, is ‘yes, of course’. If you mean, do we continue to exist when moved from the place we are born, then obviously we do. Millions of migrants all over the world are proof of that, myself included. Is this some metaphysical question – if you uproot me from the place of my birth am I the same person? Again, I don’t know. My feeling is that all our experiences combine to make us the person we are (people we are?), and place is just one small part of that.

I’m really not very good at abstract concepts.  This topic was introduced with a reference to the novel ‘Erewhon’ by Samuel Butler, which I had not read. I found it on Project Gutenberg, but I have only read about a third of it so far. It’s interesting, but I’m reading it as an adventure story, wanting to know what happens next, without much thought as to the satirical or philosophical nature of the work. I guess in any case I should hold off thinking too much about the message of the book until I have finished it.

I really didn’t have any idea of where I was going with this post when I started writing. (OK, you can say that I still don’t!) And none of this rambling has brought me any closer to writing anything for the group. I’d really like to challenge myself and write something a bit more imaginative or less factual and down to earth than I usually do, but at this stage the ideas just aren’t there. I have three weeks. And I also have to finish the projects for the competition. Will it help to continue reading Erewhon?

Advertisement

Tricky Corners

Tags

, , , , ,

I’ve been making a quilt for my daughter, to mark the occasion of her moving into her own place. A kind of housewarming quilt, based on the log cabin pattern, which I believe was traditionally used for such quilts. It was also partly inspired by a quilt I saw in the book East Quilts West, by Kumiko Sudo. I’m pleased with the way the top came together, and the quilting, which I did freehand with the machine. And I must have got the basting pretty right too, since I got no wrinkles at all when I did the quilting. When I came to the binding though, a different story!

I wanted to do a double fold bias binding, at least I think that’s what it’s called, and I went straight to the first tutorial I found – How to bind a quilt with mitred corners and invisible joins, by MadebyMarzipan. It looked straightforward, so off I went.

I cut the binding, joined the strips, pressed, and stitched all around the edges of the quilt, all eight metres of it. Then I sat down to hand stitch the folded edge in place. I was still going well until I reached the first corner. It’s a disaster. I’m not sure why, but mine doesn’t look anything like the video. The only explanation I can think of is that I chose to make a wider border, about one inch wide finished, whereas the video shows a much narrower binding. I didn’t think it would make a difference, but apparently it does. So, my corners look more like the ends of rugby balls than neatly mitred corners. As usual, I was trying to get the quilt finished at the last minute, and no way was I going to unpick all eight metres of binding to try a different way, so the corners have stayed like rugby balls.

Next time, if I ever make another quilt, I will try the binding out on a practice piece first, to make sure that the corners will work. I might even have a go with strips of paper, since I’m sure it’s got to be a principle of geometry that has let me down. But I find it really hard to envisage without actually doing it.

Other than the corners, the quilt was a success, and well received. I was so last minute in finishing it that I haven’t yet taken any pictures, but when I do, I sure won’t be including the corners!

Another thing which I did photograph, because it came out pretty well, was a Thermomix cover I made, again for the same daughter. I had found some fabric which goes with her monochrome apartment, and also her love of travel, so here it is.

Thermomix cover

Thermomix cover

IMG_2617

Interior, I went with a splash of colour here.

I used a pattern I bought online, from The Pattern Emporium. I’m pretty pleased with it, but a Thermomix is obviously bigger than I thought. The pattern says that it will fit an average overlocker as well, so perhaps when I get my sewing space organised I’ll make matching covers for my machine and overlocker. It also has useful pockets on the sides for accessories etc., which is another idea worth pursuing.


On starting a New Year, what I intend to do with this one!

Tags

, , , , ,

As is often the case, I was struggling for a topic to write about. Don’t get me wrong, I have lots of ideas in my head, but discard most of them, usually because I think they will be uninteresting to anybody but me.

Today I turned to other sewing blogs for inspiration, and landed on Hand Made by Carolyn. I have read Carolyn’s blog quite often in the past, and been stunned by the clothes she makes, not least by how she finds time to do so much sewing. I have great admiration for a fellow West Australian.

Her most recent post was what got me thinking. She wrote about ‘thoughtful sewing’, using less, using locally sourced materials, and taking time to make fewer more labour intensive garments.

So, I have decided that this year I am going to concentrate on using up some of the stuff I already have. Like most sewists, I have a fairly comprehensive stash of fabric. I had planned last year to re-vamp my sewing space, and get some organisation into the storage, but so far that hasn’t really happened, at least not as much as I would have liked. I have started to go through the stash, with the result that I now know where most things are, but I haven’t started on the workspace yet. That always seems to get put off until I have finished my current project, but I am determined that once I have finished this current project (a quilt for a recently moved out of home daughter), the workspace comes next.

The sewing is bound to continue though, and I will really focus on using up the stuff I have. Fabric, patterns, notions. I have patterns I have never sewn (some with good reason – those 80’s dresses, what was I thinking!). Probably unlike most sewists though, although my stash contains a good number of uncut, garment size pieces, it also contains a lot of scraps. When I cut out a garment, I don’t throw away the odd-shaped bits that are left over. I gather them up, wrap them in whatever large bit of fabric is left over at the end of the piece, and stash them. I’ve been doing this for well over 30 years, so there are a lot of left over bits, varying in size from quite large to hardly useable.

One point in my favour is that I am rather keen on clothes made out of more than one fabric. I like contrasting trim, or toning trim, and garments made out of updated patchwork. I’ve made a couple of things in this vein in the past, a vest made out of about 6 different black fabrics, another made out of various scraps in lime green, white and grey.

Green, white and grey scrappy vest

There are a couple of things I’m not happy with here. First is the fact that when I made this I couldn’t get the overlocker to work properly, so in the interests of getting it finished I just overcast all the inside seams with a zig zag. It looks fine when I’m wearing it, but not so good for a photo shoot! I thought I would just do up the buttons to conceal most of the inside, but then I found that I couldn’t. I used quite large buttons, and because I hate the look of really large buttonholes, I made these smaller, so the buttons don’t actually go through them. Again, not a problem when I’m wearing it, since I would never wear it buttoned up. Here are some closer up shots. In order to blend the plain grey a bit with the other fabrics I did some machine embroidery – at the time I had just bought my new Bernina and was trying out some of the stitches.

Machine embroidery panel

Buttons and too small buttonholes

Now is the time to really focus on this sort of garment sewing, and see if I can make a dent of some sort in the pile of scraps which is my stash. Obviously there are going to be some things made out of the uncut lengths (which of course will give rise to more scraps!). And I’m not entirely ruling out buying the occasional piece of new fabric, but I am going to try hard not to. This is also going to give me ready made subjects for blogging, since I will try about once a month to write about what I have been doing for this self administered challenge.

On Uncovering Long Lost Treasures

Tags

, ,

I’ve been having a major sort out of some stuff which has been kicking around for years, decades in some cases. This is a precursor to redoing my sewing space.

One of the things I came across, and which has been around for decades, is a piece of cross stitch. It is finished, and I have thoughtfully dated it 1994! It’s still not framed!

Here it is:

Cross stitch embroidery of antique wardrobe with dresses etc.

‘A Cameo of the Past’ cross stitch design by Paula Vaughan, circa 1990.


cross stitch close up

At some point I have obviously flouted the golden rule of embroidery, and left my needle in the work, maybe for some years, who knows! There is a tiny rust speck, just to the right of the boots, which hasn’t come out, even though I have washed the piece. There may be a way of getting it out, but I’m not too bothered. I’m not against the odd imperfection, it gives character, don’t you think?!

So I have put it on the table in the sewing room in order to motivate myself to get it framed. The framing I will get done professionally, but I thought I would stretch and mount it myself first. A session on Google turned up what seems like a sensible, relatively easy and yet professional way to do it. It involves getting a piece of foam core board, cutting out a rectangle a bit bigger than the embroidery, and mounting the cross stitch on it with pins put into the sides of the foam core. I haven’t explained that very well, I will take some photos as I work and try to illustrate it a bit better. I found a few descriptions of how to do it, a good one is here at Wildfaces Gallery.

I have bought the board, but I didn’t have any of the short pins, which are variously called either sequin pins or applique pins. My local fabric shop didn’t have any either, so I ordered them online, but that was before Christmas, and they haven’t arrived yet – probably because it has been Christmas. Once they arrive I will be able to get started.

Out of curiosity I went looking for the pattern for the cross stitch. And I found it , on sale on Etsy. OK, so it’s a bit kitsch, but not nearly so bad as some other cross stitch patterns of the same era. I do remember that when I had finished it I had a lot of thread left over (there are lots of colours in the pattern, and it only uses a very small bit of some of them). Because of that I bought another similar pattern, thinking to use up the thread, but I have probably used quite a lot of it in other things over the years. I don’t remember what the other pattern was called, it was another of Paula Vaughan’s, but there are several that look familiar and I’m not sure which it was. Perhaps one day it too will come to light and I’ll start another cross stitch – it may also take 20 years to be finished and framed!

Handmade Christmas sewing gifts

Tags

, , , , ,

Our group of the Australian Sewing Guild had the last meeting for the year on Sunday, and had a Christmas gift swap. I always like to make something for these swaps, and so this year I did a needle book, following a tutorial by Nana Company.

It uses some tiny bits of fabric, 1.5 inch squares, so I was easily able to find some in my scrap box. Actually I think I have enough scraps in the scrap box to make at least a hundred of these, but that’s probably not going to happen! I had to buy some flannel, or at least it was flannelette, to use for the pages, and I bought pale blue instead of the more usual white or cream. There was white in the shop, but although they were both labelled the same the blue was definitely thicker, so I thought it would be better. Not sure of the difference between flannel and flannelette, I guess the latter is probably just thinner. I was quite pleased when it was done, but what doesn’t really show in the photos, but does in real life, is the fact that I originally put the transfer of the word ‘Needles’ on the wrong way up, so the wording was reversed. I turned the fabric over, and did it on the other side, but the mistake does show a bit, and I should have just cut a new piece of fabric instead.  A lesson in being more careful, even if it is late at night!

Here are some photos:

Handmade needlebook

Needlebook 1

Inside of needlebook

Needlebook 2

Outside back and front

Needlebook 3

Back of needlebook

Needlebook 4

Close up

Needlebook 5

Another member made some really cute sewing weights, which is something I’ve never used, I always pin my patterns. Sometime though I’m going to make myself some and give them a try. I remember long ago a reader of Threads magazine wrote that she used hockey pucks as pattern weights, because ‘they were readily available at garage sales’ in her neighbourhood. Not in Western Australia they aren’t! But the ones I saw on Sunday had fishing weights inside them, that’s what’s readily available around here! I’m going to be interested to try out the difference between pinning patterns and using weights.

Illustrating a murder

Tags

, , ,

Early last year I took a course called Introduction to Fashion Design, or something like that, at Central TAFE in Perth. I had been going to do Fashion Illustration, but there weren’t enough enrolments for that class to run.

So I ended up doing fashion design. Only a short course, one evening a week for 8 weeks I think, but it was very interesting. It was intended as an introductory course for people who actually want to become fashion designers, and covered things like branding, trends in colour and design, and how to present your collection on a story board, which is where the drawing came in.

I find it very difficult to draw realistically, but in fact for fashion illustration that doesn’t really matter, many of the best illustrators have a very representational style, if that’s the word I want. A few lines and splodges, and they can convey enough about a garment that you can picture it in your head. Like this for example. Each student developed their own style, and they were very varied. In line with my very down to earth character, mine was pretty simple and straightforward. I also had a problem with the conventional figure that fashion drawings are based on, you know the skinny one with the extra long legs. Real women don’t look like that for heaven’s sake! I did download some templates from Fashionary, but I ended up not using them and drawing my figures in more realistic proportions. In fact I used photos out of a magazine to base them on, so I know they look more like real women.

I have to admit though, that they do look a bit dumpy, but I’m telling myself that’s because we are all so conditioned to seeing figures with endless legs.

Also in the course, we designed our own logo, having first come up with a brand name. I thought of mine, A Murder of Crows, because one morning when I was leaving home to go to work there was a murder of crows in the front paddock. I afterwards thought of the connection that since I was designing a collection for ‘mature’ women, these clothes might also help them to forget (murder) their crows’ feet. A tenuous connection I admit.

The final part of the course was to put our drawings together on one or more story boards. I have photographed mine, but I took the photos really early one morning, outside, and although it was what I would call daylight, I think it really wasn’t. The photos all have a blue tinge to them, which I can only assume is due to the quality of the early morning light. In some circumstances it could be lovely, but it wasn’t what I was looking for here. I have tried to fix it, but with very limited success, I will have to take the photos again sometime. Here they are in the meantime:

Fashion illustration story board

Fashion illustration story board

Fashion ilustration - flat drawings

Fashion illustration – flat drawings

I found the flat drawings much easier to do than the people wearing the clothes, or even the clothes on people. Probably because I know how clothes are put together, and also because they are two dimensional. All in all, it was an interesting and worthwhile course, I think not least because I was giving myself permission to just play around with drawing.

An Accidental Tourist in Sydney

Tags

, , , ,

At the end of September I travelled to Sydney for the Australian Sewing Guild annual convention. I joined the Guild around 12 months ago with the specific intention of going to the convention, and I’m very glad I did. I had a really good time, and I can thoroughly recommend the event to anybody else considering going.

Held at the Shore Grammar School in North Sydney, the event was a full week of sewing, with no cooking, no cleaning, and no washing up! Absolute bliss! I did workshops with Lorraine Parker, Larraine Jenkins, and Leanne Abbott (there were some tuturs whose names didn’t begin with L, I just didn’t pick them!) Textile manipulation and embellishment, some seriously useful tips for things like turning collars, and lots to do with buttons, including bound buttonholes. Unfortunately I did come home with another UFO, which I had promised myself I wouldn’t, but I have since finished it, just need to take some photos and then I can blog about it.

Apart from the sewing, I really enjoyed being a tourist in Sydney. I had not been before, apart from about half a day some 20 years ago, which I spent looking at the Opera House, and Darling Harbour. This time I still only got to see a small part of Sydney, the area around the school in North Sydney, and a walk across the bridge to The Rocks, but I was fascinated. I walked around almost with my mouth open looking at all the old buildings! Alright, I know that in the overall scheme of things Sydney isn’t old, but coming from Perth it looks positively pre-historic.

I grew up in England, living in houses which were one or two hundred years old, in one case probably even three hundred years old. And I’ve hardly seen buildings that old since. Perth was settled in 1829, and most of the original buildings have gone now. In the Rocks there were little cottages which might have come straight from any number of cities in England, logical I suppose since the people who built them had only just come from England, or the UK at least. Even the old buildings which are left in Perth have an Australian flavour to them, showing the evolution of building styles to suit the climate in the new country I suppose.

A couple of photos:

City street in Sydney, Australia, with Orient Hotel

Sydney Street with pub

Row of terraced houses in The Rocks, Sydney, Australia

Houses in a Sydney Street

Next year’s convention will be held in Brisbane, and if you are interested in sewing I can recommend it.

Sewing competitively

Tags

, , ,

Now that I have finished a few other things, I am thinking about a new project. Another motivator is that summer is coming, it will be too hot to do much outside, so I find myself doing more sewing and crafting during the summer than the winter.

I’ve been looking at entering competitions again. Competitive sewing is something I’d like to do more of, although the opportunities are a bit limited, particularly in Australia. One avenue of competition is the various agricultural shows held around the country, and although most of them are in spring, the Sydney Royal is held over Easter. After my experience last year, I am decided on two things. First, I will get my entry or entries finished and mailed in good time. Second, I will make something which is easier to mail!

I downloaded the schedule, from here, and have been studying it. It’s a bit disappointing though, because just as I am reviving my interest in dressmaking, or at least garment sewing, there are only three classes in that category. There are options for garments in some of the other categories, like embroidery, beading, felting etc., but I know my skills in those areas are nowhere near up to the challenge. And of those three classes, one is for a mixed media article, I’m not sure that really counts as dressmaking.

However, I do have an idea for the ‘wearable art of original design’ class. I acquired some odd pieces of what I think is actually a lightweight furnishing fabric last week, and I think I can collage or otherwise combine them into something. It will mean burrowing deep through the stash to find some other bits to go with them, but I’m sure there must be something suitable in there somewhere. I need to figure out when the entry needs to be finished, and create a time line back from there so that I make sure it can get in the mail soon enough.

I wonder what other opportunities there are out there for competitive sewing?

Inspiration revived, fabric brooches

Tags

, , , , ,

One of the ‘Inspiration in Every Issue’ projects I did finish, but have not yet written about, was inspired by issue number 68. There was an article entitled Pieced Silk Pins, by Karen Schmelzer. Her pins, which are what English and Australian people call brooches, were intricately made in silk, and more complicated than mine. She says they are generally about 2.5 inches in size, and one of the examples in the photograph has a beautiful strip of ‘flying geese’ across the middle of it, which must have been quite a challenge.

Mine are no bigger than hers, in fact only about 2 inches square. I didn’t go for such complicated piecing though. Strictly speaking I think they would all be classified as ‘crazy quilting’, since they are not even or regular. I made one based on a log cabin pattern, but without being square or regular, and the other two are just randomly pieced. I also decided that it would be easier to make the brooches themselves just random shapes, instead of aiming for the perfect square or rectangle. I added some beads for decoration, and sewed brooch pins on the back. Actually before sewing on the pins I pressed them, and that made a huge difference. What started out as a squishy odd-shaped lump became a quite flat, smooth and relatively even object, which looked quite professional, and like the pictures in the magazine!
Two of the brooches I gave away as gifts at our Red Hat chapter’s Christmas gathering, (that’s why they are purple and red) and kept the third. I would certainly have a go at making some more, they are quite satisfying, and use up tiny scraps.

Here are some photos:

patchwork or pieced brooches, pins

Three pieced brooches

 IMG_1459 IMG_1458IMG_1456

close up shot of brooches in magazine

Close up

And here are some shots of the magazine and the original article.

magazine cover

Threads magazine issue # 68

magazine article

Article by Karen Schmelzer

How I wish I knew how to make WordPress align text and photos on the page where I want them to be! I’ve even tried playing with the html, since I am learning (trying) to build websites at the moment, but I still can’t get it to look the way I want it. How hard can it be?!

Perseverance, or not failing to keep trying

Tags

,

Back again after another long hiatus in my blogging career. However, I’m looking at the positive. I think it’s like giving up smoking, or being on a diet, just because you fail doesn’t mean that you shouldn’t try again, and maybe each failure increases the chance of success next time.

For those who don’t have any idea what I’m talking about, I mean my efforts to blog regularly. I have tried in the past, but generally not managed more than one or two posts per month, and there have been longish periods with no posts at all. I am going to try again.

Last Saturday was writing group, which is something else I haven’t been paying enough attention to lately. The topic we had been given was refugees, but I wasn’t brave enough to write about that. Others did, and there were some very interesting pieces, including the information (which I think is correct) that Afghanistan has been the top refugee producing country in the world for each of the last 32 years. Makes one wonder why?

Anyway, I am not going into that now. I didn’t write anything until almost the last minute, which I often do, and then struggled to find something to write about. Until I browsed through the folder on my computer and found a piece I had started some time previously when I went to a performance of Beethoven’s Ninth Symphony. I was able to polish it up a bit, and took that along. It went down OK, and I’m posting it on this blog under articles, but I wonder what I could do with it. Not much, I fear. I’d quite like to be somebody who has a weekly column in a newspaper or magazine, writing about incidents in everyday life, but for reasons as discussed above, I’m not sure that would work very well! I guess having to write something to send in every week would focus the mind somewhat!

Who has any good tips for blogging/writing regularly?